

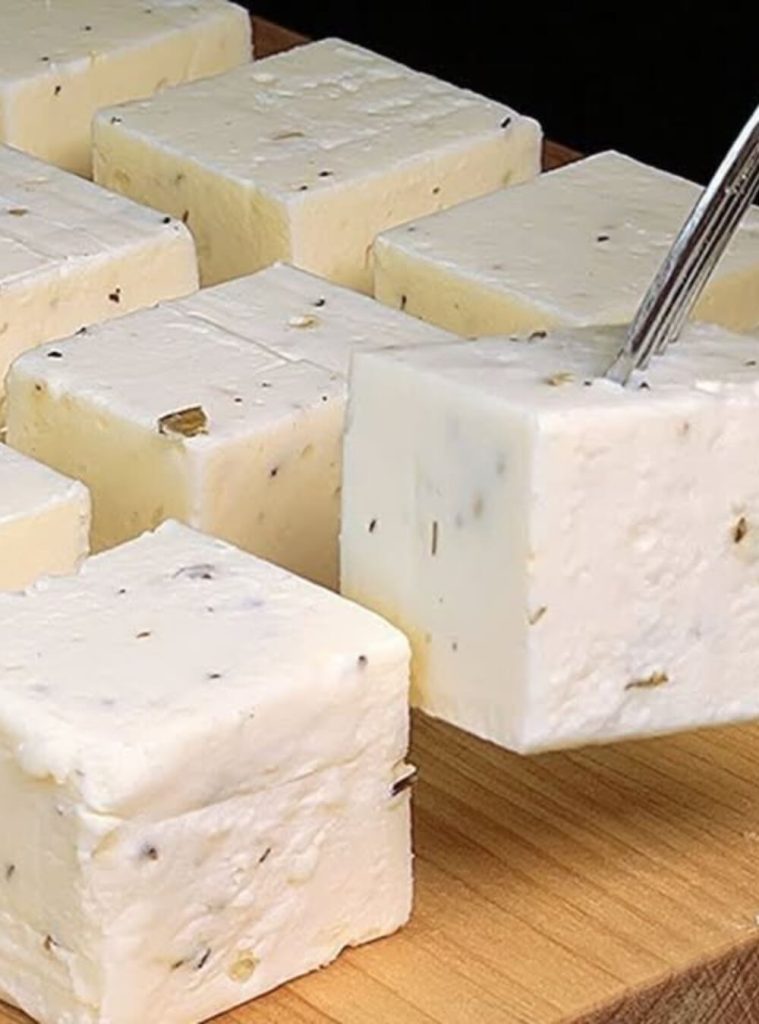
Making your own cheese at home may seem like a daunting task, but this simple two-ingredient recipe will change your perspective. In just six minutes, you can create a fresh, delicious cheese that can elevate your meals and snacks without the fuss of complicated techniques. Perfect for adornments on salads, spreads on bread, or enjoyed on its own, this cheese is not only easy to make but also incredibly satisfying. Once you’ve tried it, you might find yourself reaching for this homemade delight time and time again.
Why You’ll Love This Recipe
- Takes only 6 minutes from start to finish.
- Requires just two simple ingredients.
- Fresh cheese is perfect for spreading, cooking, or snacking.
- No special equipment is needed, just basic kitchen tools.
- Highly customizable with herbs and spices for added flavor.
Ingredients
- 1 cup (240 ml) of milk (whole milk is preferred)
- 1 tablespoon (15 ml) of white vinegar or lemon juice
Kitchen Tools Needed
- Small saucepan
- Heat-resistant spatula or wooden spoon
- Fine mesh strainer or cheesecloth
- Mixing bowl
Step-by-Step Instructions
-
Heat the Milk: Pour the milk into a small saucepan and heat it over medium heat. Stir occasionally to prevent it from scorching. You’ll know it’s ready when small bubbles form around the edges, but it shouldn’t boil.
-
Add the Acid: Once the milk is hot, remove it from the heat and add the vinegar or lemon juice. Stir gently for about 30 seconds until you see the curds begin to form.
-
Let it Sit: Allow the mixture to sit for 2-3 minutes. You should see distinct curds separate from the whey (liquid).
-
Strain the Curds: Place a fine mesh strainer over a mixing bowl and pour the curds and whey into the strainer. Let it drain for about 1-2 minutes depending on how dry you prefer the cheese.
-
Rinse and Season: Rinse the curds under cold water to stop the cooking process. If desired, you can mix in salt or any herbs at this point for flavor.
-
Serve: Transfer your fresh cheese to a serving bowl. Enjoy it right away or refrigerate it for later.
Pro Tips
- If you want a creamier texture, use whole milk or add a splash of cream after draining.
- Experiment with flavors: add garlic powder, herbs, or spices to create your ideal cheese.
- Keep an eye on your milk to prevent it from boiling over; stirring helps.
Common Mistakes
- Don’t rush the heating process; boiling the milk can lead to scorching.
- Ensure you wait long enough for the curds to form after adding the acid.
- Straining too quickly can result in a wetter cheese.
Variations
- Herbed Cheese: Add fresh or dried herbs such as basil, chives, or dill.
- Spicy Cheese: Incorporate a pinch of red pepper flakes or a dash of hot sauce for a kick.
- Garlic Cheese: Mix in roasted garlic for a rich, savory flavor.
Serving Suggestions
This delightful cheese is great on toasted bread, served with crackers, or alongside fresh vegetables. Pair it with olives or roasted tomatoes for an impressive appetizer.
Storage Instructions
Store your homemade cheese in an airtight container in the refrigerator. It’s best enjoyed fresh but can last up to a week if properly stored.
Reheating Tips
Reheating is generally not necessary, but if you want a slightly melted version, gently warm it in a microwave for a few seconds.
Nutrition Estimate
Approximately 100 calories, 6g protein, 8g carbs, and 5g fat per serving.
Recipe Summary
Prep Time: 6 minutes
Cook Time: 0 minutes
Total Time: 6 minutes
Servings: about 1 cup
Cuisine: Homemade
Course: Appetizer
Calories: 100
Frequently Asked Questions
Can I use low-fat milk?
Yes, but the texture may be slightly less creamy.
What’s the difference between vinegar and lemon juice?
Both will work, but lemon juice may impart a slightly different flavor.
Can I freeze the cheese?
While you can freeze it, the texture may change. It’s best used fresh.
Is this cheese suitable for vegan diets?
This recipe is not vegan, but there are plant-based cheese recipes available.
Can I flavor the cheese after it has set?
Definitely! Adding flavorings after straining offers great versatility.
Making this cheese is a delightful and easy process that can add a fresh touch to your meals. Enjoy creating a culinary treat that’s rich in flavor and simplicity!
Homemade Fresh Cheese
A simple and quick recipe for making delicious homemade cheese using just two ingredients in six minutes.
Main Ingredients
- 1 cup milk (Whole milk is preferred for creamier texture.)
- 1 tablespoon white vinegar or lemon juice (Both work well; lemon juice gives a slightly different flavor.)
Preparation
- Pour the milk into a small saucepan and heat it over medium heat, stirring occasionally until small bubbles form around the edges, without boiling.
- Remove the milk from heat and add the vinegar or lemon juice. Stir gently for about 30 seconds until curds begin to form.
- Allow the mixture to sit for 2-3 minutes until distinct curds separate from the whey.
- Place a fine mesh strainer over a mixing bowl and pour the curds and whey into the strainer. Let it drain for 1-2 minutes based on desired dryness.
- Rinse the curds under cold water to stop cooking. Mix in salt or herbs if desired for flavor.
- Transfer your fresh cheese to a serving bowl. Enjoy immediately or refrigerate for later.
Store in an airtight container in the refrigerator; best enjoyed fresh but lasts up to a week. Reheating not necessary, but can warm slightly in a microwave for a melted version.